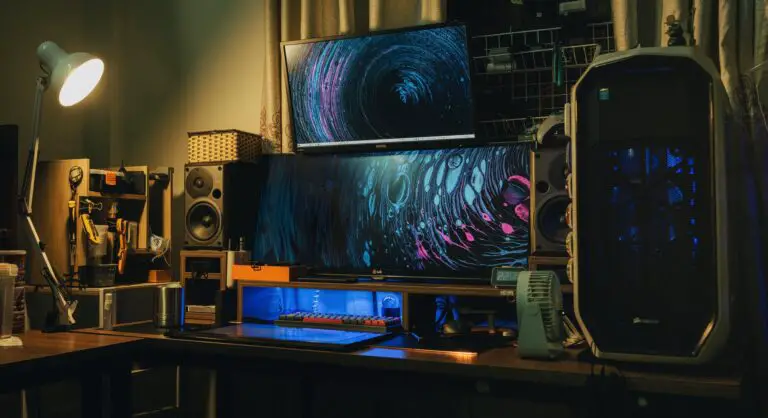
Want to know how to set up studio monitors? Setting up your studio properly is crucial whether you’re a solo artist recording demos or a newbie producer and engineer working out of your own place. The appropriate configuration of studio monitors enables even low-priced speakers and headphones to produce terrific sound and performance.
Figuring out how to set up studio monitors can often be bewildering and difficult to understand and carry out. And how exactly do you determine that you’ve set them up properly?
Don’t worry; we’ll help you through this process in detail in this article.
How Do Studio Monitors Work?
Before you make a purchase, you should understand how studio monitors work and how to get the most out of them in your home cinema setup. Remember, media playback is not the right use of a studio monitor, as its intended function is to offer an exact depiction of the sound being produced in the studio.
While the frequency and tone response will be spot-on for listening to music, they may have some unwanted qualities when used for other purposes, such as watching television or listening to the radio.
Compared to real life, some sounds will be softer while others will be louder. This is especially the case when listening to the radio or television at a normal volume. If you exclusively listen to music through a speaker system rather than headphones, it is recommended to use studio monitors so that you can experience the entire dynamic range of the song.
Setting Up Studio Monitors
The following are some steps required in the process of setting up studio monitors:
Positioning of Speakers
Your monitors should be set up so that the sound is directed directly into your ears, so make sure they are at ear level. Ideally, the distance between both speakers and yourself should be equal, creating a triangle with three equal sides.
With both hands, point to your speakers. Place yourself between them at a distance where your index fingers can barely touch the speakers.
Sound Source That Will Calibrate Your Speakers
The “Pink Noise” sound source, which can be described as sounding similar to static or a waterfall, is the standard industry calibration sound source.
Set Up Your Pink Noise in Your DAW
Make sure the volume on your speakers is turned down to zero. The “Pink Noise” track in your DAW should be muted, and the right and left locators should be set to form a loop around your “Pink Noise” file.
Since speaker volume control is all the way down, you’ll be conducting this step in silence, looking at the stereo buss out of the meter to calculate an average loudness level visually. If you primarily use modern popular music styles like rock, punk, etc., gradually increase the “Pink Noise” track’s volume until the speaker buss out meter displays an estimated -14dB RMS.
Be wary of accidentally exposing your listeners to -20dB calibration by playing any current popular genres. You should lower the volume on your speakers before playing music from these genres.
Calibrating Speakers
Start by turning on only the left speaker. Maintain the “sweet spot” on your SPL meter. Keep your body away from the SPL meter to get an accurate reading. Calibrate the SPL meter slowly and at “C” weight. To accurately measure sound pressure levels, SPL meters must be aimed at the ceiling, not the noise source.
Adjust your phone’s microphone settings so that it is pointing upwards. Set the left speaker’s volume to a level where the SPL meter registers 80 decibels. Remove the left speaker’s power and replace it with the right. Repeat the process with the right speaker, raising its volume until the SPL meter registers 80dB.
In this next step, we’ll turn on both speakers. SPL readings should average about 83dB. You’ve reached the sweet spot in your monitor volume settings, which is perfect for mixing. To ensure you’re in the sweet spot between your speakers, listen to some pink noise on both devices and see where the sound seems to be coming from.
The Pink Noise should be in the middle, so if it seems like it’s leaning to one side, increase the volume of your monitors till it does. If any tweaks are needed, they should be minor. Make sure you have a record of the computer and peripheral settings.
Mark the Settings of Your Studio Monitors
If you want to know precisely when your two speakers are producing 83 dB of “Pink Noise,” placing a little strip of tape or a label on the volume control knob is recommended.
In addition to marking the softest volume level, you should also mark the loudest volume level, where you give your mixes a quick listen at that volume. When you get to the end, that’s when you’ll want to make a note of your “Pink Noise” test level.
To choose where you want the “loud” and “soft” markers to appear, listen to a completed mix while in a mixing session. Choose a volume level for “loud” at which you can hear the entire mix. To hear each component and voice clearly, but not so loud that it overwhelms the test level, set the “soft” option to the volume at which you would normally use the “test” setting (83dB).
Read this article next: Do Studio Monitors Sound Better than Speakers?
Subwoofer
Repeat this procedure with your subwoofer if you have one. A subwoofer is absolutely necessary for better mix quality if you don’t already have one. Unlike your high-frequency monitors, the subwoofer’s precise location is less crucial.
Our ears aren’t as good at pinpointing the origin of low-frequency sounds as those of higher frequencies. Check it out for yourself. Put your eyes shut and see if you can locate the source of the hi-hat sound.
Conclusion
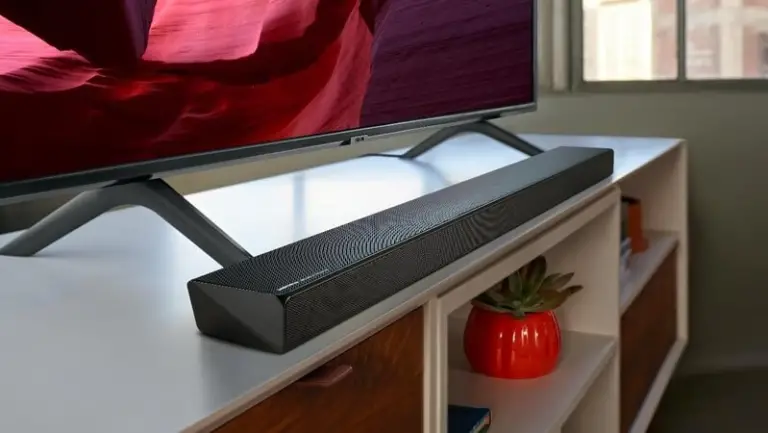
Studio monitors are the best speakers to use when creating music in a studio. Most people use dipole technology, which precludes them from producing bass. The ultimate goal of employing studio speakers for home entertainment is to get sound quality as comparable to the actual playback as feasible. You can use additional screens for surround sound channels. A studio monitor cabinet with a subwoofer is a good option to get a good sound at a reasonable price.

![studio monitors - how loud is 50 watts How Loud Is A 50 Watt Speaker? [Explained]](https://audioambition.com/wp-content/uploads/2020/09/how-loud-is-50-watts-768x403.jpg)

