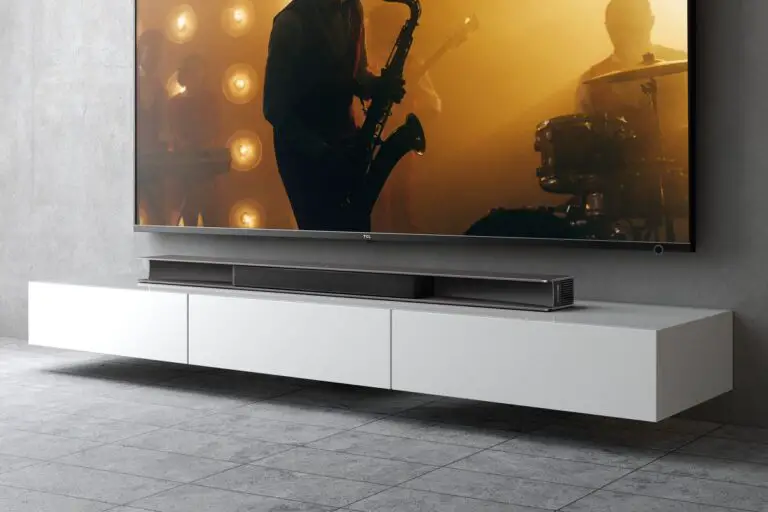
Are you ready to take your Roku TV experience to the next level? Enhance your home theater with immersive sound by connecting a sound bar to your Roku TV. Our easy-to-follow guide will walk you through the process, ensuring you’re set up for audio bliss in just minutes.
No more settling for built-in TV speakers that can’t deliver the rich, room-filling sound you crave. With a sound bar connected to your Roku TV, you’ll enjoy every movie, show, and game in a whole new light.
So, let’s dive in and transform your home entertainment experience into a truly immersive adventure!
Are Roku TVs good?
Roku TVs are super easy to use and usually don’t cost an arm and a leg. They have all the best apps, like all the streaming services you could want. They’re just as good as those fancy smart TVs in the store.
Understanding the Connection Options
Here we have described three different and easy ways to connect sound bar to Roku tv. Let’s look at each of these connection types and their benefits.
1. HDMI ARC (Audio Return Channel)
HDMI ARC is a connection method that enables audio to be transmitted from your TV to your Soundbar via an HDMI cable. This option is especially helpful if you want to control your Soundbar with your TV remote, as it allows Soundbar’s volume to be controlled by the TV remote.
HDMI ARC also enables high-quality audio and a variety of audio formats. Connect an HDMI cable from the ARC port on your TV to the ARC port on your Soundbar. HDMI ARC is compatible with Roku TVs and soundbars with HDMI ports.
2. Optical Audio Connection
You can also connect sound bar to Roku tv via an optical audio connection. This choice sends audio signals between your TV and Soundbar via fiber-optic cable. To connect sound bar to Roku tv via an optical audio connection, connect an optical cable from your TV’s optical audio output to your Soundbar’s optical audio input.
Optical audio is compatible with most Roku TVs and soundbars, and it is especially helpful for older TVs that may lack HDMI ports.
3. Bluetooth Connection
You can also connect sound bar to Roku tv via Bluetooth. Bluetooth is compatible with most Roku TVs, and soundbars that support Bluetooth. This choice enables you to connect sound bar to Roku TV wirelessly. To link your Soundbar via Bluetooth, pair it with your TV via Bluetooth settings.
You can also turn on Roku TV without a remote. Wondering how? Read our guide.
Step-by-Step Guide: HDMI ARC Connection
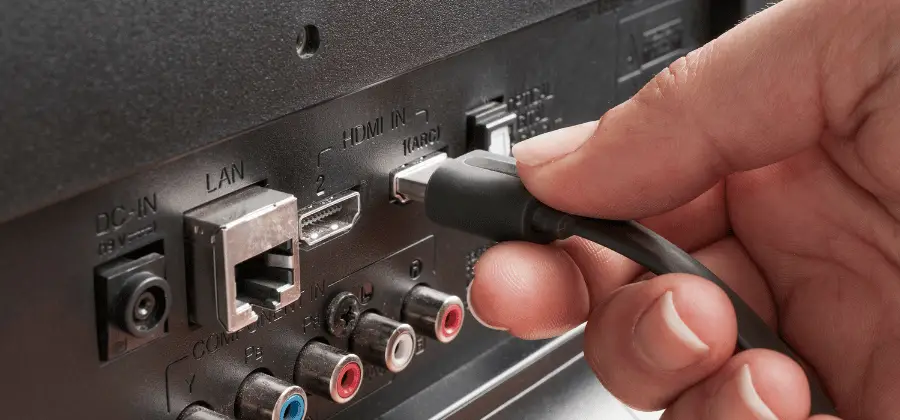
If you want to avoid dealing with the fuss of a wireless connection and want to ensure the connection always works, go with a physical wire. HDMI ARC connection is one of the three ways you can adopt to connect sound bar to Roku tv and enjoy your movie time.
To connect sound bar to Roku tv with an HDMI ARC Connection, follow the mentioned steps below:
1. Locating HDMI ARC ports on Roku TV and Soundbar
Locate the HDMI cable insertion point on both of your devices. The connection for the HDMI ARC, also known as the “Audio Return Channel,” can be found among the other HDMI ports and is typically branded as “HDMI ARC” or just “ARC.”
Locate the TV OUT (ARC) slot on the rear of your sound bar. You will need to have an HDMI cable available to connect your Soundbar.
2. Connecting the HDMI cable
Connect one wire end to the TV, insert the other end into the Soundbar, and ensure both devices are turned on. Move the cable so it doesn’t block your screen.
3. Configuring Roku TV settings
Configure your Roku TV settings by enabling HDMI ARC and adjusting the audio settings. To do this, follow these steps:
- Go to Settings > System > Control other devices (CEC) > HDMI ARC, and select “Auto detect” or “On.”
- Go to Settings > Audio > HDMI, and choose “Auto detect” or “Dolby Digital Plus” for the best audio output.
4. Configuring soundbar settings
Set up your Soundbar by selecting the HDMI ARC input and changing the sound parameters to your preference. You can do this using the Soundbar’s remote or the settings menu.
5. Verifying the connection
Play content on your Roku TV and check to see if the sound is coming from the Soundbar rather than the TV speakers.
Watch this Easily Connect Roku TV with Soundbar in 1 Minute video:
Step-by-Step Guide: Optical Audio Connection
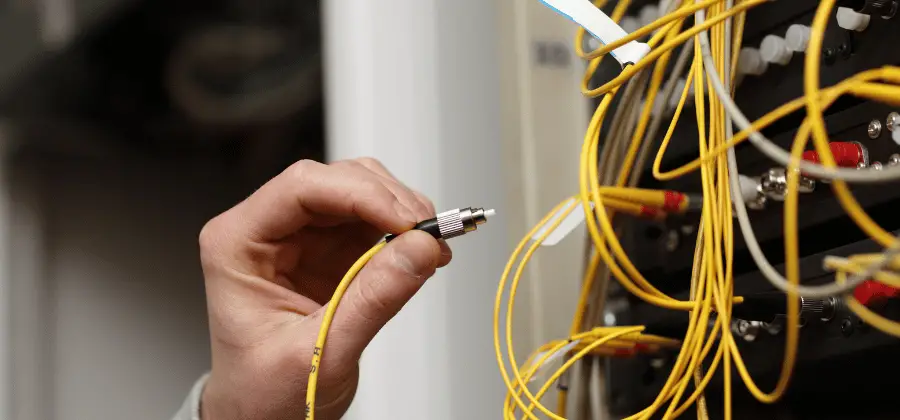
When it comes to connecting audio devices, one of the simplest methods is to utilize an optical audio connection. This connection allows for transmitting high-quality audio signals through a fiber optic cable.
Follow a few simple steps, and easily connect sound bar to Roku TV using this method.
1. Locating optical audio ports on Roku TV and Soundbar
Before you start, locate the optical audio connectors on your Roku TV and Soundbar. They are commonly referred to as “optical,” “digital,” or “TOSLINK.”
2. Connecting the optical audio cable
Hook up one end of the optical audio cable to the port on your Roku TV and the other end to the port on your Soundbar once you’ve discovered the ports. Check out if the cable is securely attached.
3. Configuring Roku TV settings
To configure your Roku TV settings, follow these steps:
- Enable Optical Audio Output: Go to Settings > Audio > HDMI and ARC > Digital Audio. Select “Auto-detect” or “Dolby Digital Plus.”
- Adjusting Audio Settings: Go to Settings > Audio > Volume mode. Choose “Leveling” for consistent volume across different programs.
4. Configuring Soundbar settings
Look at the manual for your Soundbar and see if any settings need to be adjusted. Some soundbars might need you to switch the input source to “optical.”
5. Verifying the connection
After you finish the steps, turn on your Roku TV and Soundbar and play a video to check if everything works accurately. If you hear sound from the Soundbar, then you’ve nailed it! Your Roku TV is now connected.
Step-by-Step Guide: Bluetooth Connection
Many people prefer to use their Soundbars wirelessly. However, not all TVs enable this feature. Most Roku TVs can handle an HDMI wire. But if you don’t want to deal with the hassle of hiding the cable, there’s a way to connect your Soundbar that’s way easier.
Connect the two devices with a Bluetooth Receiver. This Bluetooth receiver can turn any non-Bluetooth device into a Bluetooth speaker, even your Soundbar! To pick the right Bluetooth receiver, ensure it works with your Roku TV.
Hooking up a sound bar to your Roku TV is a piece of cake. Just check out the steps below:
1. Enabling Bluetooth on Roku TV and Soundbar
Usually, Roku TVs have an RCA or some other auxiliary output that can connect with a Bluetooth receiver. Just stick the receiver into the right input/output port. Remember to plug in the receiver so it can turn on and off.
2. Pairing Roku TV and Soundbar
After plugging your Bluetooth Receiver into your TV, please turn on the receiver and Soundbar and pair them. They should blink to indicate power. Pair them using the Bluetooth receiver’s instructions.
3. Configuring Roku TV settings
You can make your Soundbar the default speaker for your television by going into the settings of your Roku TV and selecting it from the drop-down menu. You can also change the audio settings to your liking, like the volume level and the way the conversation sounds.
4. Configuring Soundbar settings
Once the Roku TV settings are set up the way you want, you may also want to change the soundbar options. You can take help by seeing Soundbar’s instructions, but you can use the Soundbar remote to change the bass, treble, and other sound settings.
5. Verifying the connection
Alright, try it and see if you can hear the sound from your Roku TV through the Soundbar. Check that both devices are correctly paired and set up if the sound is not coming from the Soundbar.
You can select a movie or show to watch and ensure the sound comes from the Soundbar.
Troubleshooting Common Issues

When you want to connect the sound bar to Roku TV, you might encounter common problems you can fix by troubleshooting.
1. No sound from the soundbar
If you have connected your sound bar to your Roku TV but don’t hear any sound, ensure that both devices are properly paired and linked.
Next, check your Roku TV’s settings to ensure the speaker is set as the audio output device. Also, ensure that the Soundbar is not muted and the volume is turned up.
2. Audio delay or syncing issues
If you’re having trouble with audio delay or syncing, try adjusting the audio delay option in your Roku TV settings. This setting lets you change the time delay between the audio and video streams.
You should also check that your Soundbar is set to the proper audio mode, such as “surround” or “stereo.”
3. Incompatible devices or cables
If you’re experiencing difficulties to connect Sound bar to Roku TV, ensure both devices are compatible and use the proper connectors.
Consult the user manuals for both devices to ensure compatibility and that you’re using the correct cords for the connection type.
4. Tips for resolving the issues
Some additional tips for resolving these issues include:
- resetting the soundbar and Roku TV to their normal settings
- updating the firmware on both devices
- looking at the user manuals
- calling customer support for help.
- Ensure that your speaker is in the right place.
- Additionally, make sure there are no obstacles that could stop the Bluetooth signal from working.
If you’re still having trouble, you should disconnect and reconnect the devices or connect sound bar to Roku TV differently, like an optical cable.
If you’re ever struggling to turn on your Roku TV, Read our guide about why sharp Roku TV won’t turn on.
Conclusion
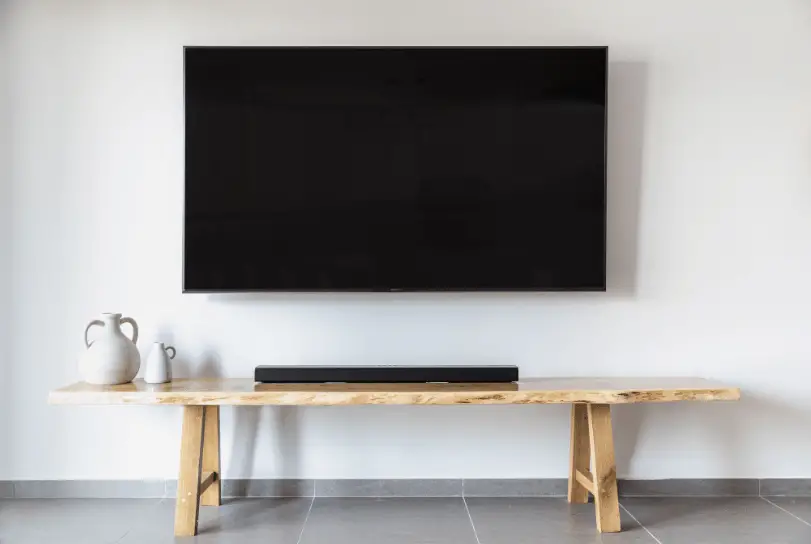
Connecting a soundbar to a Roku TV is a simple function that can improve your movie or music experience. With a correctly connected soundbar, you can enjoy your favorite movies, TV shows, and music with greater clarity and depth.
You may enjoy high-quality audio without difficulty by following the easy procedures suggested in this guide.
Now you know how to connect sound bar to Roku tv. We encourage you to experiment with different connection options to find the best one. So sit back, relax, and enjoy your new and improved audio experience with your Roku TV and speaker.

